Easy Ink Blending Techniques
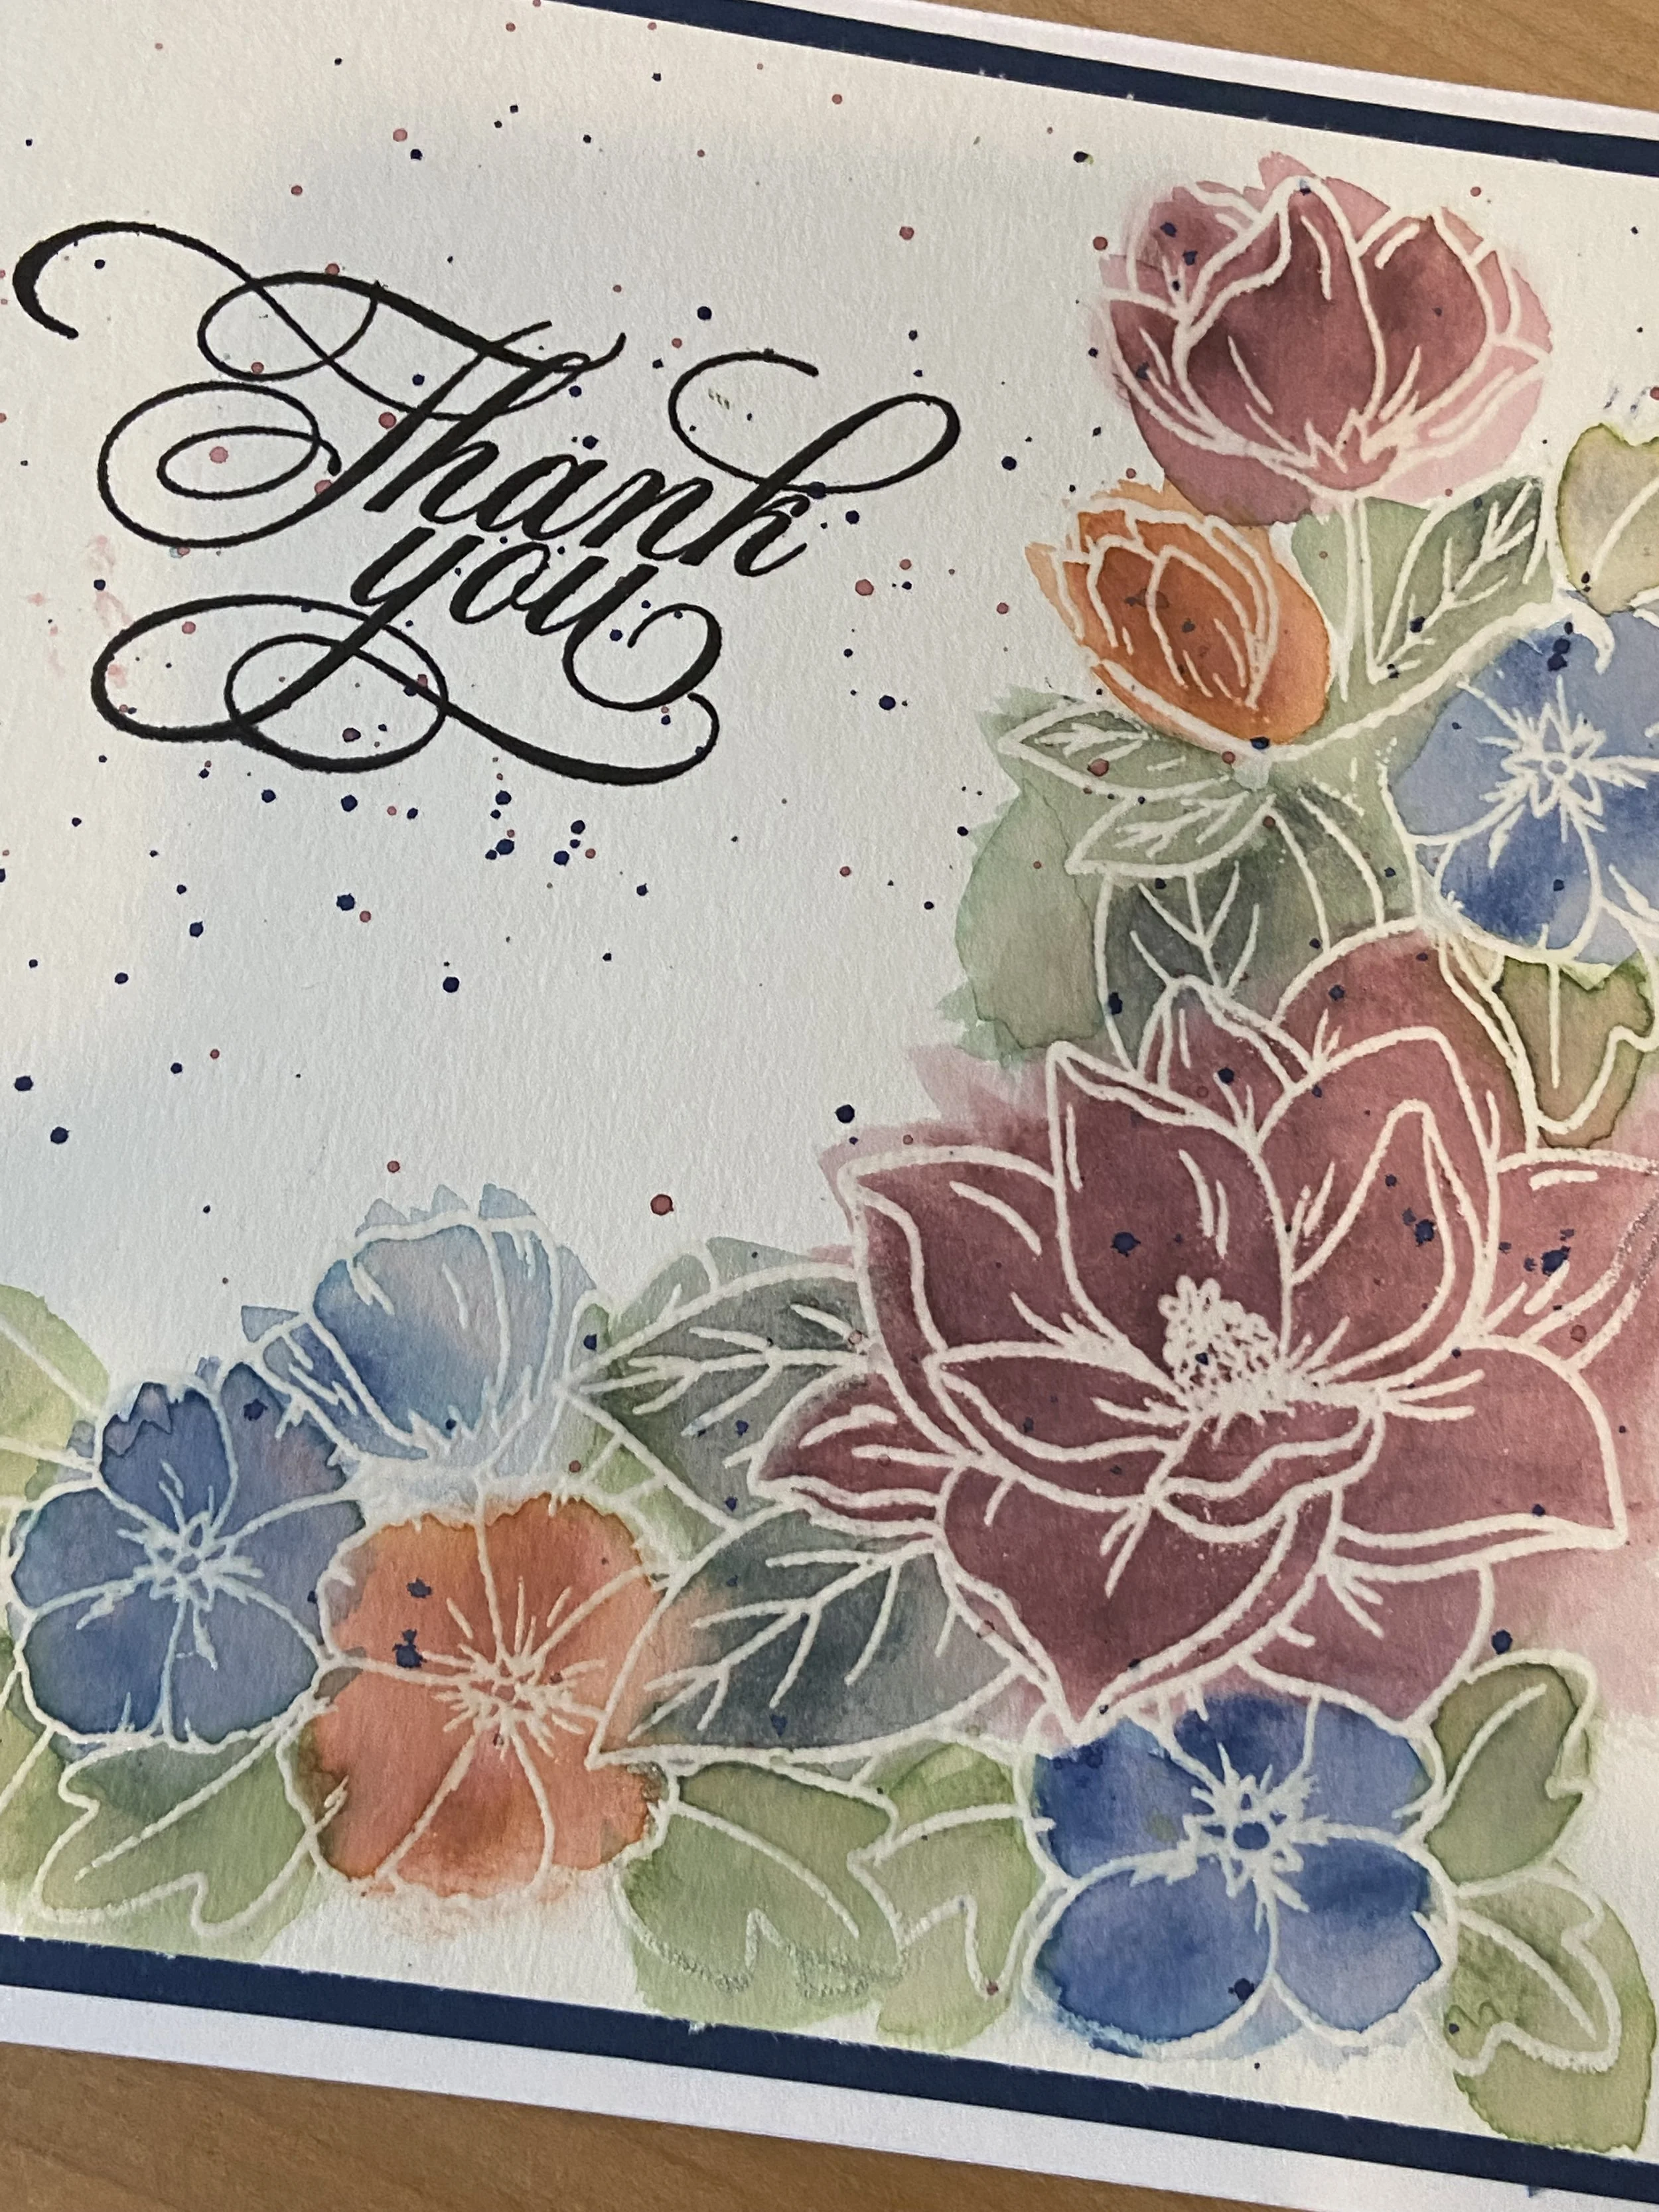
Hi crafty friends! My fingertips are inky and I’ve been creating! I love that feeling when I’m all inky and I have some finished products. Today, I’m showing two very different cards I created using two different ink blending techniques. The first of which was inspired by Amy Lee in the “Easy Ink Blending” course she taught for the Altenew Educator Certification Program. She demonstrated a faux watercolor technique that I thought was spectacular. I’ve mimicked her technique using colors from Altenew’s Jewel Tones Crisp Dye Inks. To see a tutorial of the first card, visit my YouTube channel.
To create this card, first I heat embossed the floral image from Altenew’s Craft Your Life Magnolia & Blooms using a clear ultrafine embossing powder. This technique is called “emboss resist”. The clear lines I created with the embossing powder will not pick up the ink’s pigment, and will end up looking like an outline of the stamp. Next, I blended ink from Altenew’s Jewel Tones onto the flowers and leaves. Finally, I took a paint brush and some water, and simply moved the ink around on the paper with the water, creating a “water colored” look. Pro Tip: Use Canson XL Watercolor paper for this technique. Quite a bit of water is used and the watercolor paper allows the ink to move around and slowly seep into the paper. This technique does not call for perfection, so blending the ink, as well as the water, outside the heat embossed lines adds to the watercolor effect. To finish the card, I splattered some of jewel tone color onto the paper. I added a “Thank you” sentiment from the Simon Says Stamp Vintage Garden stamp set. I matted the card front onto some blue paper and then onto a 6x6 white cardstock base.
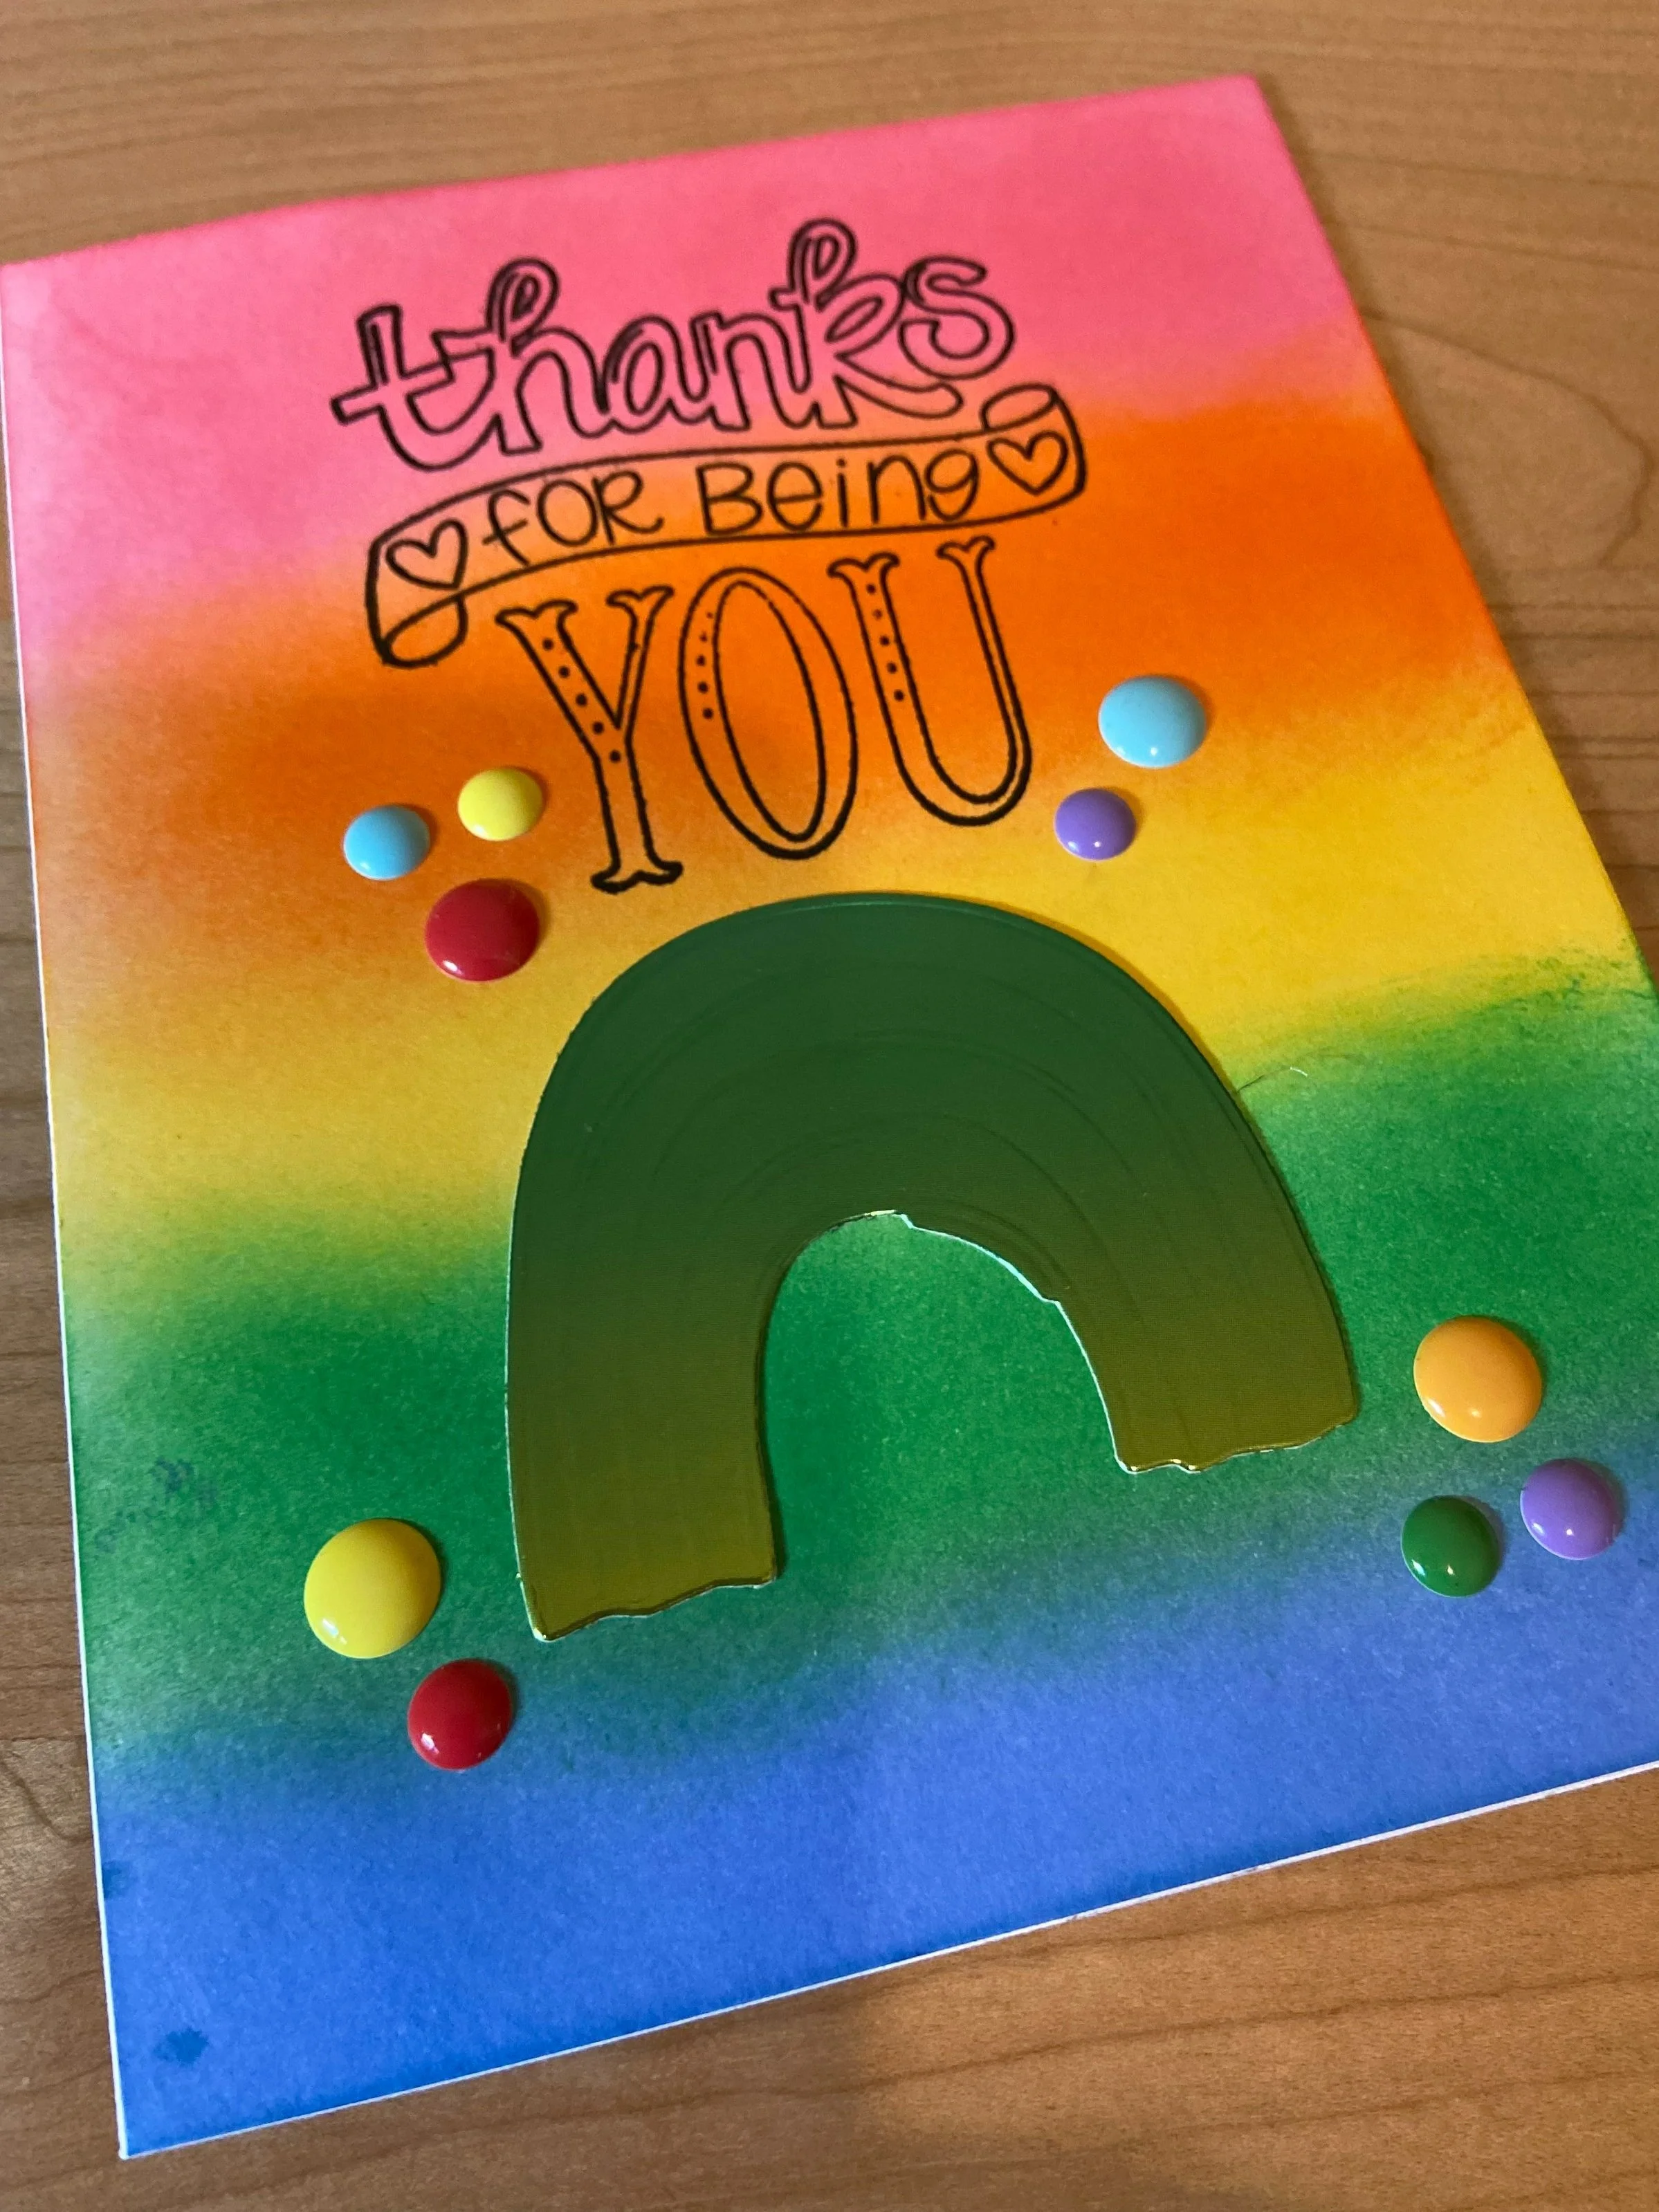
To create the second card I’m showing today, I used a more traditional approach to ink blending. My twin nieces will be 10 years old soon, and I thought I’d use this as an opportunity to make them rainbow cards! I chose bright rainbow colors from Altenew’s selection of Crisp Dye inks including Ruby Red, Autumn Blaze, Warm Sunshine, Just Green, and Persian Blue.
I started with Ruby Red, and worked my way down the paper with each color, blending one into the other. I used light, circular stokes with the ink and a blending tool to create each color. I didn’t want a crisp line delineating one color from the next. Rather, I wanted the colors to softly blend into each other, just like a rainbow. I added the “Thanks for Being You'‘ sentiment and a rainbow cut from rainbow mirror cardstock. Finally, I added some bright rainbow colored enamel dots to the card. I love how bright and cheery this card turned out. It’s perfect for two little squirts and their birthday!
Thank you for stopping by to see my crafty creations! And don’t forget to check out my YouTube video!
Supplies
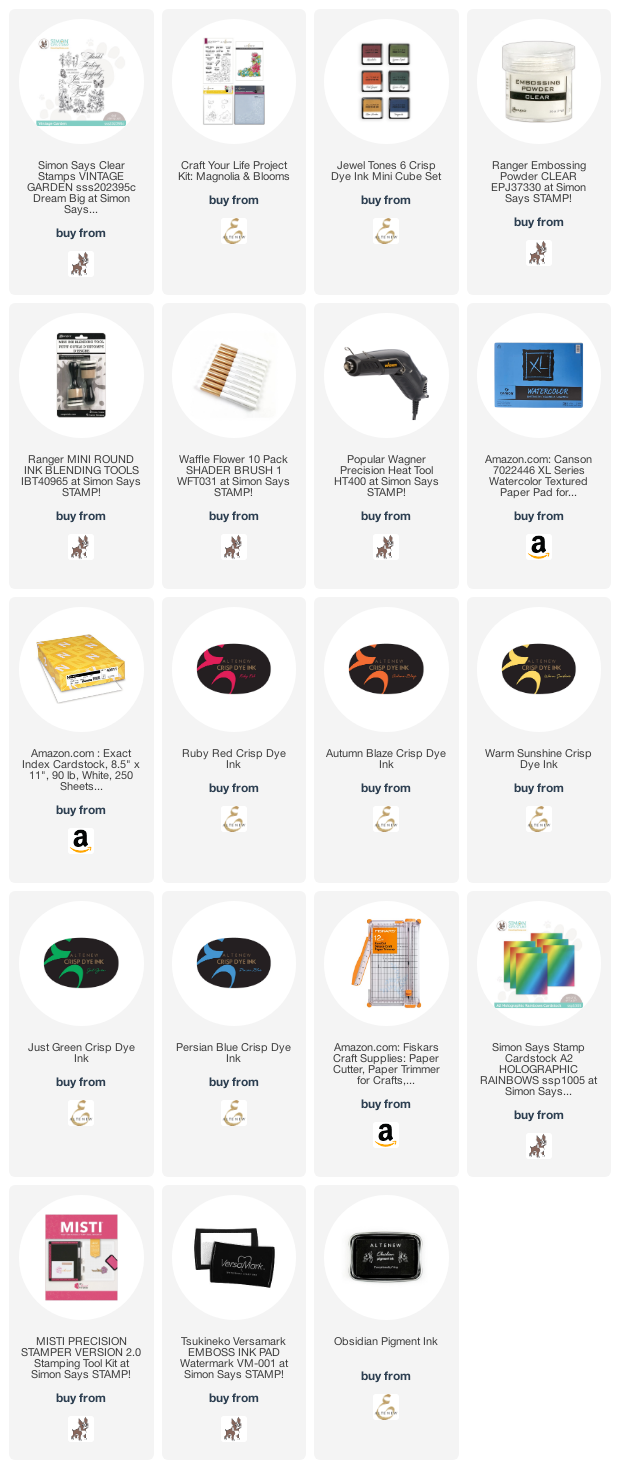
Below I’ve listed the products I used. Click on the icons to find my favorite products from my favorite stores. Some of the links may be compensated affiliate links and provide me a small commission, at no cost to you. Thank you for your support!


